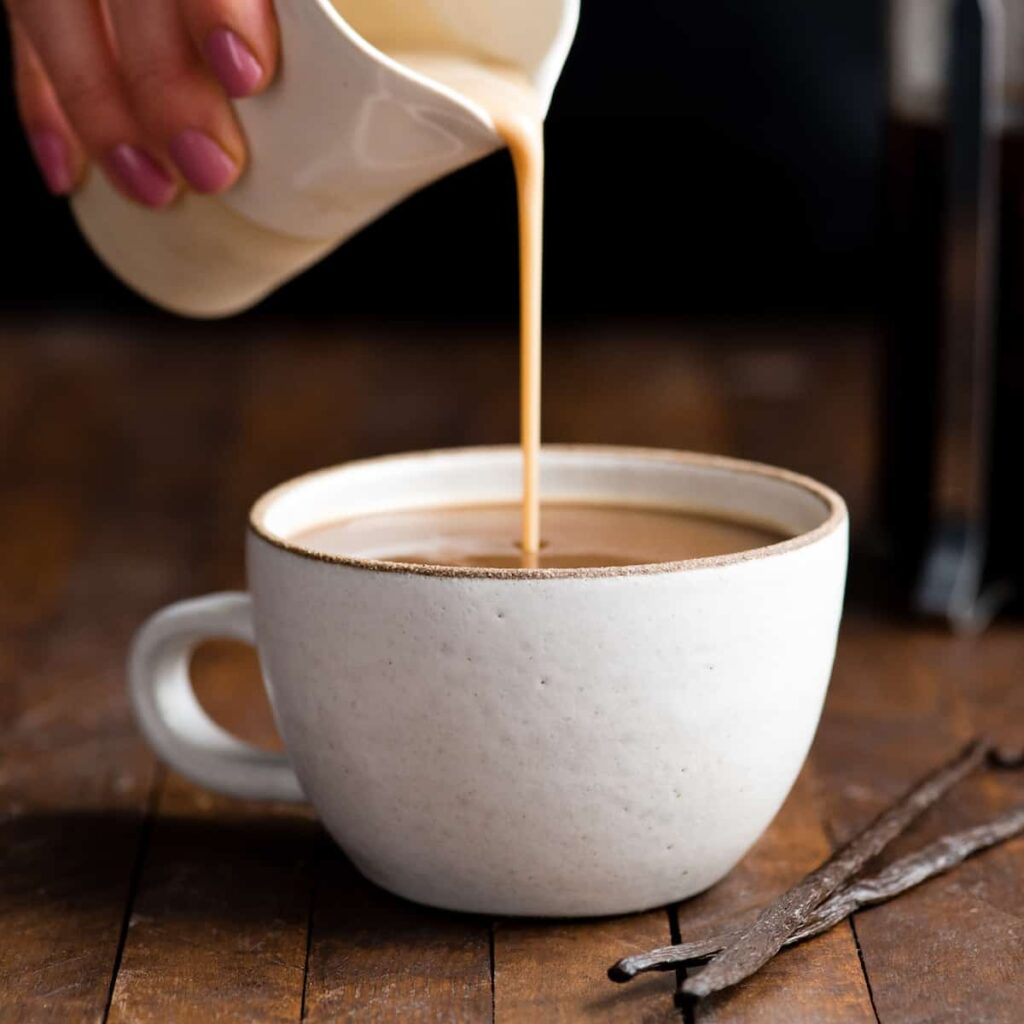
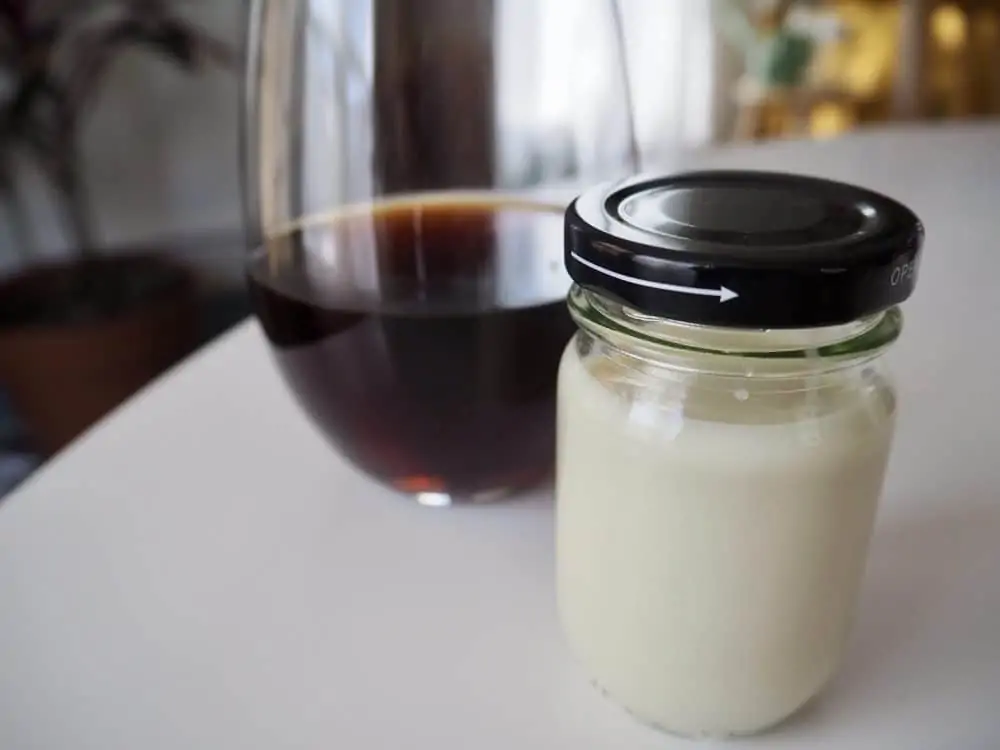
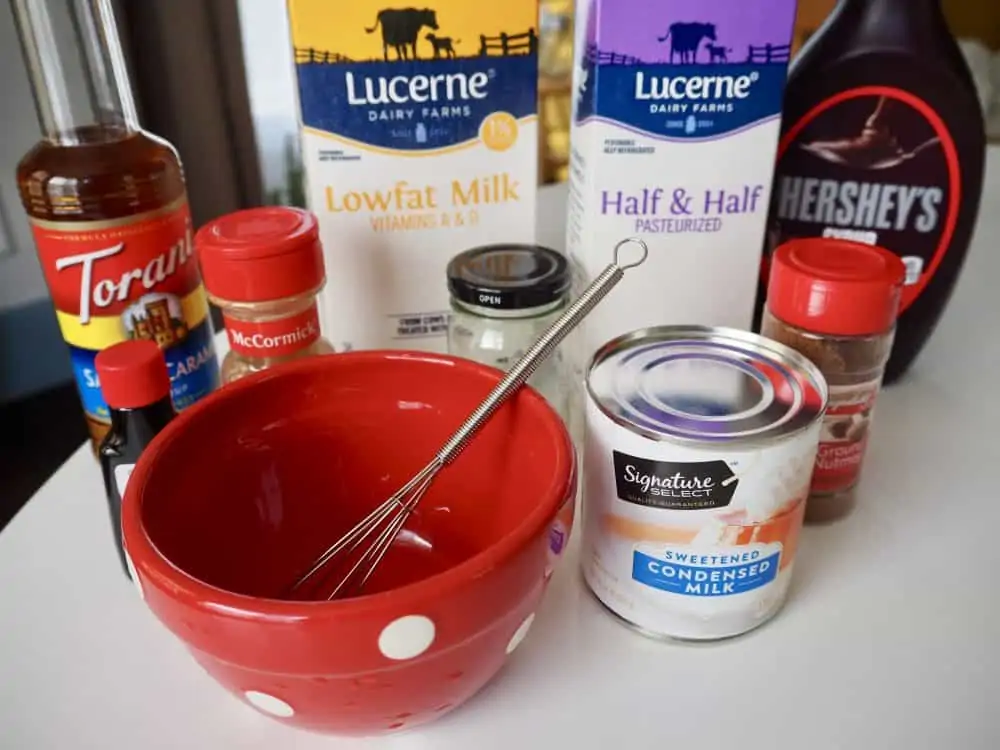
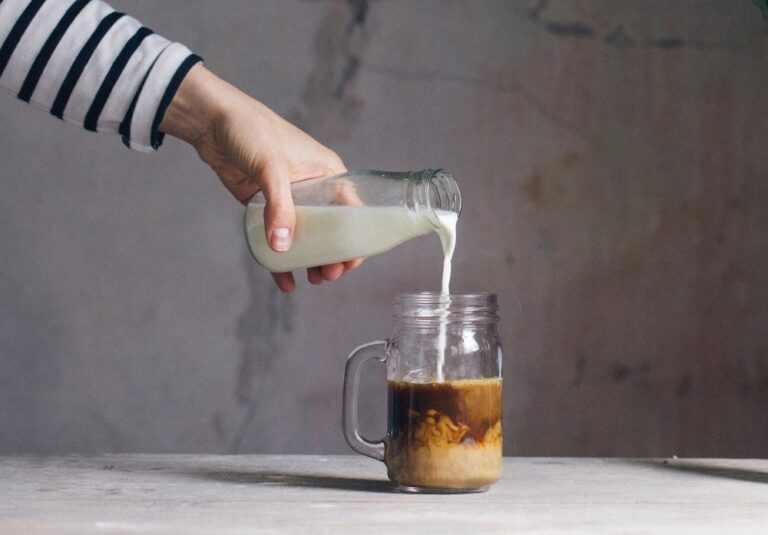
Embark on a delightful journey into the world of homemade coffee creamer with this simple recipe guide. Discover the joy of creating your own creamer with natural ingredients, customizable flavors, and easy-to-follow steps. Whether you’re a coffee aficionado or just looking to enhance your morning brew, this article will guide you through the basics, customization, delicious recipes, healthier choices, and storage tips for your perfect cup of coffee.
Key Takeaways
- Making homemade coffee creamer is simple, requiring only a few natural ingredients and minimal cooking time.
- You can customize your creamer with a variety of flavors, including dairy-free and sugar-free options, to suit your taste preferences.
- The recipe offers flexibility with thirteen different flavor variations, ensuring your coffee never becomes monotonous.
- Creating your own creamer allows you to avoid artificial additives and control calorie content for a healthier coffee experience.
- Homemade coffee creamer can be easily stored and has a variety of creative uses beyond just coffee, adding versatility to your kitchen.
The Basics of Homemade Coffee Creamer

Understanding the Ingredients
Creating your own homemade coffee creamer is not only simple but also allows you to customize the flavor to your liking. The base of most creamers is a combination of milk or a milk substitute and a sweetener. For a traditional creamer, half and half paired with sweetened condensed milk offers a rich and creamy texture. Alternatively, for a dairy-free version, nuts such as almond or cashew can be used, blended with water to achieve the desired creaminess.
The key to a perfect coffee creamer lies in the balance of ingredients. A pinch of salt can enhance the sweetness, while optional additions like vanilla extract add a subtle flavor depth.
Here’s a basic guideline for the ingredients you’ll need:
- 2 cups of half and half, heavy cream, or milk (or a nut-based alternative for dairy-free options)
- 14 ounces of sweetened condensed milk or a similar sweet sauce
- Optional: 1/4 cup of simple syrup for added sweetness
Remember, the choice of base ingredient will significantly influence the taste and texture of your creamer. Whether you opt for a dairy or non-dairy base, ensure it’s one you enjoy as it will be the foundation of your creamer.
Equipment Needed
To create your own homemade coffee creamer, you’ll need a few basic tools that are likely already in your kitchen. A small saucepan is essential for combining and heating your ingredients to meld the flavors together. For storage and easy pouring, a mason jar with a spout or a glass creamer pitcher will come in handy.
Here’s a quick list of equipment you might need:
- Small saucepan
- Mason jar or glass creamer pitcher
- Milk steamer frother (optional for frothy creamers)
- Bamboo cutting board (useful for preparation)
Remember, the right equipment can make the process smoother and more enjoyable, ensuring your creamer is perfectly blended and ready to enhance your coffee experience.
Ensure you have all the necessary equipment before you start, so the process goes without a hitch. With these tools at your disposal, you’re ready to move on to the cooking process.
Step-by-Step Cooking Process
Creating your own coffee creamer at home is a straightforward process that requires minimal preparation. Begin by gathering all your ingredients: 1 1/2 cups of half-and-half, which can be substituted with whole milk or heavy cream, 1 tablespoon of cocoa powder, a 14-ounce can of sweetened condensed milk, 1 teaspoon of vanilla extract, and 1/2 teaspoon of almond extract.
With these simple ingredients, you can create a coffee creamer that rivals any store-bought variety in both taste and creaminess.
Follow these steps to ensure a smooth and delicious creamer:
- Combine the half-and-half, cocoa powder, and sweetened condensed milk in a saucepan over medium heat.
- Stir the mixture continuously until it is well combined and heated through.
- Remove from heat and stir in the vanilla and almond extracts.
- Transfer the creamer to a mason jar or a glass creamer pitcher and allow it to cool before refrigerating.
Remember, the key to a perfect homemade creamer is patience and attention to detail during the cooking process.
Customizing Your Coffee Creamer

Flavor Variations
Exploring the world of flavor variations in homemade coffee creamer is an adventure for your taste buds. With a few simple add-ins, you can transform the base creamer into a delightful array of flavors to suit any mood or season.
For instance, adding a touch of vanilla extract can create a classic and aromatic Vanilla Coffee Creamer. If you’re feeling more indulgent, why not try an Italian Sweet Cream Creamer? Just a hint of almond extract paired with vanilla can evoke the warmth of Italian coffee culture right in your kitchen.
For those who love the cozy flavors of fall, a Pumpkin Spice Creamer can be easily crafted with pumpkin puree, vanilla extract, maple syrup, and a sprinkle of pumpkin pie spice. Start with a modest amount and adjust to taste.
Remember, the key to a perfect flavor infusion is to use pure extracts and avoid artificial flavorings that may contain added sugars. Here’s a quick list of popular flavor add-ins:
- Vanilla extract
- Almond extract
- Cinnamon
- Hazelnut extract
By experimenting with these and other ingredients, you can create a personalized coffee creamer that’s as unique as you are.
Dairy-Free and Sugar-Free Options
Adapting your homemade coffee creamer to be dairy-free and sugar-free is simpler than you might think. For a dairy-free version, replace traditional milk products with plant-based alternatives. For instance, mix 1 cup of oat milk with 1 cup of full-fat coconut milk to achieve a rich texture without dairy. This combination is not only creamy but also vegan-friendly, making it a great choice for those following a plant-based diet.
When it comes to reducing sugar, many are seeking alternatives that don’t compromise on taste. A popular choice is monk fruit sweetener, which can be used in place of granulated sugar to create a sugar-free creamer. This natural sweetener does not affect blood sugar levels, making it suitable for those on a keto diet or managing diabetes.
Embrace the versatility of your homemade creamer by experimenting with these adaptations. Whether you’re adding it to a hot cup of coffee or a refreshing iced matcha, the possibilities are endless.
Be mindful of the pros and cons when selecting non-dairy creamers. While they are often lower in sugar and fit into vegan and keto diets, some may contain unwanted additives. Opt for natural or organic labels to avoid preservatives and artificial flavors, and always check for potential allergens if you have sensitivities.
Tips for Perfect Consistency
Achieving the perfect consistency in your homemade coffee creamer is crucial for that creamy, luxurious texture that elevates your coffee experience. The key to perfect consistency is patience and precision in your approach. Start by choosing the right base; full-fat options like heavy cream or half-and-half will yield a richer texture, while milk will result in a lighter creamer.
For those seeking a non-dairy alternative, a blend of full-fat coconut milk or soy milk with cane sugar can work wonders. The process involves a slow simmer on low heat for about an hour until the desired thickness is achieved. Remember, the creamer will continue to thicken as it cools, so it’s important to monitor the consistency closely towards the end of cooking.
To ensure uniformity in flavor and texture, consider making multiple flavors at once. After heating the cream and sugar until the sugar dissolves, divide the creamer between two heat-safe bowls before adding your chosen extracts and flavors. If you’re using ingredients like cocoa powder or pumpkin, keep that portion of the creamer in the pot and return to low heat to whisk in the flavoring ingredients.
Here are some additional tips to help you achieve the perfect creamer consistency:
- Use a frother to add a light, airy texture to your creamer.
- If you prefer a modest portion, simply halve the ingredients.
- Store your creamer tightly covered in the refrigerator and consume by the expiration date on the half-and-half carton.
Delicious Flavor Recipes to Try

Classic Vanilla Creamer
The Classic Vanilla Creamer is a testament to the timeless appeal of vanilla in enhancing the flavor of coffee. This creamer combines the warmth and nuttiness of vanilla with the sweet creaminess of milk, creating a delightful addition to your morning routine. For the best flavor, it’s recommended to use pure vanilla extract.
To make this creamer, start with a base of sweetened condensed milk and your choice of milk. Then, simply stir in the vanilla extract and enjoy the transformation of your coffee into a gourmet experience.
The nutritional aspect is also worth considering. A quarter-cup serving contains about 175 calories, which is modest compared to many commercial coffee drinks. Plus, you have the added benefit of knowing exactly what’s in your creamer—no hidden additives or artificial ingredients.
- Flavor Add-In: Vanilla extract
- Nutritional Info: 175 calories per quarter-cup serving
Remember, the key to a perfect homemade creamer is in the quality of ingredients and the love you put into making it. Savor the process and the flavor!
Italian Sweet Cream Creamer
The Italian Sweet Cream Creamer is a luxurious addition to your morning coffee, offering a warm and nutty flavor that’s reminiscent of a quaint Italian caf\u00e9. The blend of vanilla and sweet almond extracts creates a rich and comforting taste that’s simply irresistible.
To achieve the perfect Italian Sweet Cream Creamer, start with a base of 1 / 2 cups half & half and / 2 cup heavy cream. Then, add 1 tablespoon of pure vanilla extract and / 2 teaspoon of almond extract for that signature flavor.
Here’s a quick guide to making your own Italian Sweet Cream Creamer:
- Combine the half & half and heavy cream in a small saucepan over medium heat.
- Stir in the granulated sugar until fully dissolved.
- Remove from heat and mix in the vanilla and almond extracts.
- Allow the creamer to cool before transferring it to a mason jar for storage.
Enjoy this creamer in your daily coffee or as a special treat when you’re looking to indulge in a little bit of Italian sweetness.
Seasonal Pumpkin Spice Creamer
When the leaves start to turn and there’s a chill in the air, it’s time to indulge in the cozy flavors of fall with a Seasonal Pumpkin Spice Creamer. This creamer is a delightful addition to your morning routine, infusing your coffee with the essence of autumn.
Ingredients for Pumpkin Spice Creamer:
- 2 cups milk
- 14 oz can sweetened condensed milk
- 4 tablespoons pumpkin puree
- 1 teaspoon pumpkin pie spice
- 3 tablespoons maple syrup
- 1 teaspoon vanilla extract
The beauty of this recipe lies in its simplicity and the use of natural ingredients. You can enhance the health benefits and reduce refined sugar by preparing your own sweetened condensed milk.
To create this homemade delight, simply whisk together the milk, sweetened condensed milk, pumpkin puree, pumpkin pie spice, maple syrup, and vanilla extract in a blender until smooth. The result is a rich, creamy concoction that perfectly captures the spirit of the season. Enjoy your homemade Pumpkin Spice Creamer and savor the flavors of fall in every sip.
Healthier Choices in Your Creamer

Benefits of Natural Ingredients
Opting for homemade coffee creamer means embracing the full control over the ingredients you consume. By selecting natural and organic components, you can avoid the synthetic additives and preservatives often found in store-bought creamers. This not only contributes to a cleaner diet but also aligns with health-conscious lifestyles, such as vegan or keto diets.
When you make your own creamer, you’re not just crafting a beverage additive; you’re ensuring that every sip of your coffee is as healthy as it is delicious.
Moreover, using natural ingredients like coconut milk or almond milk can introduce additional health benefits. These plant-based options are not only lower in sugar but also cater to those with dietary restrictions or allergies. Remember, while non-dairy creamers have a longer shelf life, it’s the quality of ingredients that truly makes a difference in your diet.
Here’s a quick look at the pros of using natural ingredients in your homemade creamer:
- Avoidance of artificial flavors and preservatives
- Compatibility with vegan, keto, and clean eating diets
- Potential for lower sugar content
- Reduced risk of consuming common allergens
Avoiding Artificial Additives
In the quest for a healthier coffee creamer, avoiding artificial additives is a crucial step. These additives can include preservatives, artificial flavors, and sweeteners that may have undesirable effects on your health. When creating your homemade creamer, it’s essential to read labels carefully and opt for natural or organic ingredients that don’t compromise your dietary goals.
- Choose sweeteners like stevia, erythritol, or monk fruit to maintain sweetness without the negative impacts on blood sugar levels.
- Be wary of store-bought creamers as they often contain additives that negate the benefits of making your creamer at home.
Remember, the beauty of homemade creamer is the control you have over what goes into it. By steering clear of artificial additives, you not only enjoy a purer taste but also contribute to your overall well-being.
For those following specific diets, such as keto, it’s important to select ingredients that align with your nutritional requirements. Artificial sweeteners, while sugar-free, can still contain carbs or other non-keto-friendly substances. Always check the nutritional information to ensure compatibility with your dietary needs.
Calorie Control and Serving Sizes
Managing the calorie content of your homemade coffee creamer is crucial for those mindful of their dietary intake. By adjusting the serving size and ingredients, you can tailor the creamer to fit your nutritional goals.
For instance, a typical serving of 2 tablespoons of a basic vanilla creamer may contain approximately 61 calories, with variations depending on the specific ingredients used. Here’s a quick breakdown of the nutritional content for a standard serving:
| Nutrient | Amount |
|---|---|
| Calories | 61 kcal |
| Carbohydrates | 8 g |
| Protein | 2 g |
| Fat | 3 g |
| Saturated Fat | 2 g |
| Sodium | 25 mg |
| Sugar | 7 g |
Remember, these figures are estimates and can vary. For those on a keto diet or requiring sugar-free options, substituting sugar with a sugar-free alternative can significantly reduce the calorie count.
When considering serving sizes, it’s important to note that smaller portions can help control calorie intake. A smaller serving of 1 tablespoon, for instance, will halve the calorie and nutrient content, making it easier to enjoy your coffee creamer without overindulging.
Storing and Enjoying Your Creamer

Best Practices for Storage
To ensure the freshness and quality of your homemade coffee creamer, proper storage is key. Refrigerate your creamer immediately after it cools down. Use a glass container with an airtight lid, such as a mason jar, to maintain the creamer’s integrity and extend its shelf life.
Remember, the ideal storage time for homemade coffee creamer is up to 7 days in the refrigerator. Always check the creamer before use, and discard if there are any signs of spoilage.
Labeling your creamer with the date of preparation can be a helpful reminder of its freshness. Here’s a simple way to track your creamer’s shelf life:
- Day 1: Date of preparation
- Day 3-4: Check for consistency and smell
- Day 7: Last recommended day for use
By following these guidelines, you can enjoy your homemade creamer with each cup of coffee, knowing it’s both delicious and safe to consume.
Shelf Life and Freshness
Understanding the shelf life and maintaining the freshness of your homemade coffee creamer is crucial for enjoying its best taste and quality. Homemade creamers typically last up to a week when stored properly in the refrigerator. To ensure you’re consuming your creamer while it’s still fresh, consider labeling the container with the preparation date.
To extend the shelf life of your creamer, a little tip is to add 1/4 teaspoon of salt, which can help keep it fresher for a longer period.
Here are some additional storage tips:
- Always use an airtight container to store your creamer.
- Store the creamer in the fridge immediately after preparation.
- Shake the container before each use to ensure the ingredients are well mixed.
- Be mindful of the milk’s expiration date if you’re using dairy, as it will dictate the creamer’s shelf life.
Remember, while store-bought creamers may last longer due to preservatives, homemade creamers offer a healthier choice without artificial additives.
Creative Uses Beyond Coffee
While homemade coffee creamer is a staple for many coffee enthusiasts, its use extends far beyond the morning cup of joe. Your homemade creamer can be a versatile ingredient in a variety of recipes. For instance, it can add a delightful twist to your baking by incorporating it into cakes, cookies, or even pancake batter for an extra hint of flavor and moisture.
Beyond baking, consider using your creamer as a base for homemade ice cream or as a rich addition to oatmeal and other breakfast cereals. It can also transform a simple fruit salad into a luxurious dessert with its creamy texture and taste.
Embrace the creativity and explore the many ways your coffee creamer can enhance your culinary creations. From sweet treats to savory dishes, the possibilities are endless.
Here are a few suggestions to get you started:
- Drizzle over fresh fruit for a decadent touch
- Mix into smoothies for added richness
- Use as a creamer in tea for a unique flavor combination
- Incorporate into cocktail recipes for a creamy twist
Conclusion
In conclusion, homemade coffee creamer is not only simple to make, but it’s also a delightful way to enhance your daily coffee ritual. With just a few natural ingredients and a quick 5-minute cooking time, you can create a creamer that rivals any store-bought variety. The beauty of this recipe lies in its versatility, offering thirteen different flavors to suit any taste or occasion. Whether you prefer the classic vanilla or something more adventurous like pumpkin spice, this homemade creamer is sure to impress. Say goodbye to artificial ingredients and hello to a creamier, richer, and more personalized coffee experience.
Frequently Asked Questions
What are the basic ingredients for homemade coffee creamer?
The basic ingredients for homemade coffee creamer include half & half, heavy cream, and granulated sugar. You can add flavor extracts or other additions for different varieties.
How long does it take to make homemade coffee creamer?
It takes about 5 minutes of cooking time to make homemade coffee creamer, plus a couple of minutes for preparation.
Do I need any special equipment to make coffee creamer at home?
No special equipment is needed. You only require a small saucepan and a jar or container for storage, such as a mason jar.
Can I make dairy-free or sugar-free coffee creamer?
Yes, the recipe is customizable. You can follow simple adaptations to make dairy-free and sugar-free versions of the coffee creamer.
How can I store my homemade coffee creamer and how long will it last?
Homemade coffee creamer should be stored in an airtight container in the refrigerator. It typically lasts for up to two weeks, but always check for freshness before use.
Are there any health benefits to making my own coffee creamer?
Yes, by making your own coffee creamer, you can avoid artificial additives, control the calorie content, and use natural ingredients, which can be healthier than store-bought varieties.


