Updated guide 👉 https://www.youtube.com/watch?v=kjeSlGhm8cA
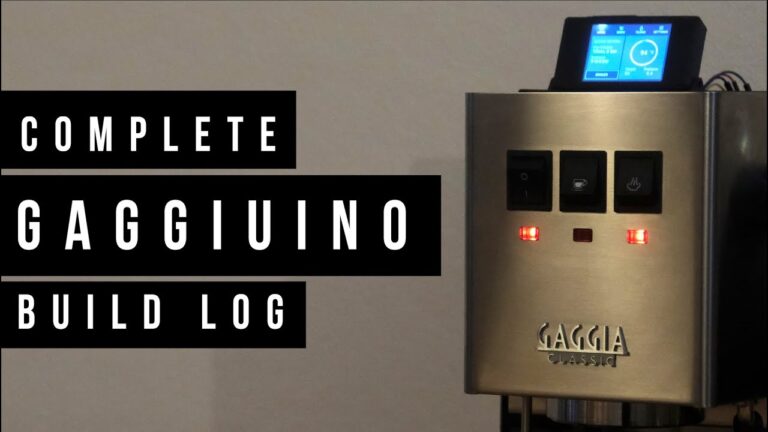
This is a build log on how I turned my Gaggia Classic Pro (RI9380) into an Arduino powered coffee machine. This is a lengthy video so I’ve added timestamps below.
Thank you to Zer0-bit and the entire Gaggiuino community for all the work they put in to make this project possible. Check out the documentation below to see up to date information on how to build your own!
QUICK NOTE: On 10:03 It shows the max6675 and dimmer boards using dupont connectors. It is recommended to solder these as they will eventually give up and may lead to frustrating behavior down the road. I’ll release a video update soon on how to fix this but for now, just remember to SOLDER THESE.
Documentation: https://gaggiuino.github.io/
Github: https://github.com/Zer0-bit/gaggiuino/
Instagram: https://instagram.com/rjwhatn0w
Bosque’s video: https://www.youtube.com/watch?v=MxPNQRCxQZc
0:00 Intro
1:57 Disclaimer
2:12 Arduino Nano AT328
2:14 Arduino expansion board
2:17 MAX 6675 thermocouple
2:18 C-m4 screw type thermocouple sensor
2:20 Connecting the sensor
2:24 Nextion LCD unboxing
2:34 Connecting to the Arduino Nano board
3:02 SSR Relay
3:09 Plugging into the computer
3:13 Downloading base software
4:12 Adding component libraries
6:02 Arduino software upload
7:05 Nextion software upload
7:35 RobotDYN dimmer module 4A-400V
7:39 Pressure sensor 0-1.2Mpa
7:42 12v/1A power supply and 12v to 5v stepdown
7:53 Connecting power supply and stepdown
8:33 Combining ground wires
8:56 Combining 5v wires
9:08 Connecting pressure sensor wiring
9:11 Connecting temperature sensor wiring
9:21 Progress update
10:18 Preparing bridge cables
10:26 Preparing splitter cables
10:38 Adding spade connectors to power supply
10:48 Adding spade connectors to relay
10:54 Preparing cables for brew button
10:57 Preparing cables for steam button
11:10 Adding wiring and spade connectors to dimmer
11:39 RI9480 Gaggia Classic Pro reveal
12:05 Tapping into the power button
13:42 Remove steam wand
13:50 Disconnect boiler
13:57 Adding thermal paste to sensor
14:03 Finding original thermostat
14:13 Remove and replace thermostat with our sensor
14:27 Bridge brew thermostat connectors
14:34 Connecting temperature sensor to MAX6675
14:47 Prepare SSR relay
14:52 Disconnect steam thermostat and connect SSR relay
15:17 Connect brew and steam continuity wires
15:31 Tap into steam switch
16:00 Tap into brew switch
16:13 Disconnect pump
16:21 Disconnect pump connectors
16:39 Connect to dimmer module instead
17:31 Tapping in our pressure sensor into the orange braided hose
18:52 Using a 3d printed enclosure to protect electronics
19:35 Secure SSR
19:55 Test power
20:58 Threaded wiring to the back
21:03 Putting everything back together
21:22 Testing the brew switch
21:32 Lovely looking graph
21:43 Conclusion
22:30 First shot
Also, its spelled Gaggiuino, not Gagguino 🤓


